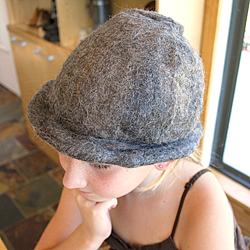
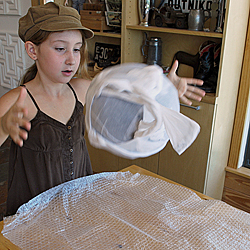
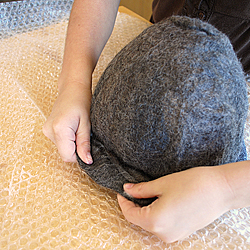
In this episode, you can learn to make a hat using the water felting technique. The hat is made of wool fiber or alpaca fibers that are formed onto an inflatable ball.

|
|
 |
| |
|
|
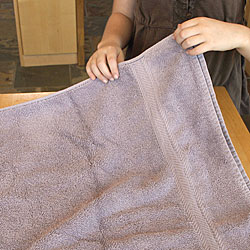
Step 1 |
|
|
Cover work surface with towel.. |
|
 |
| |
|
|
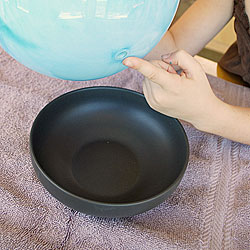
Step 2 |
|
|
Place bowl in center of towel. |
|
 |
| |
|
|
Step 3 |
|
|
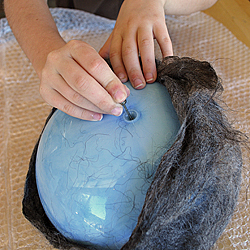
Place ball in bowl. Make sure the air hole is facing down into the bowl. |
|
 |
| |
|
|
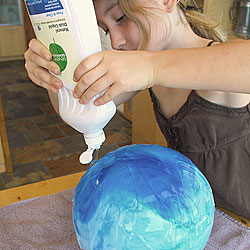
Step 4 |
|
|
Drizzle the ball with liquid dish soap. |
|
 |
| |
|
|
Step 5 |
|
|
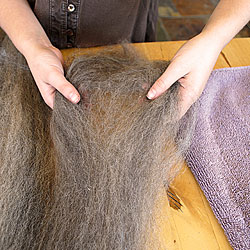
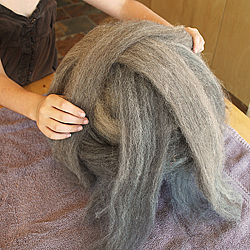
Separate thin strands of fiber (long enough to drape all the way over the ball). |
|
 |
| |
|
|
Step 6 |
|
|
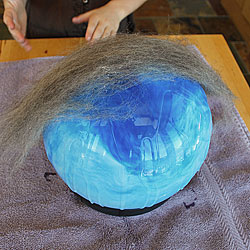
| Drape the first strand over the ball. |
|
 |
| |
|
|
Step 7 |
|
|
| Drape the next strand in the opposite direction. |
|
 |
| |
|
|
Step 8 |
|
|
| Continue draping fibers over the ball until the entire ball is covered. |
|
 |
| |
|
|
Step 9 |
|
|
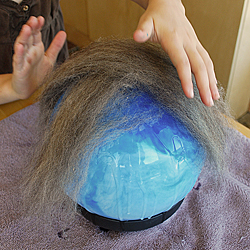
| Using long thin strips, place the fibers on the ball in a spiral pattern, starting at the top. |
|
 |
| |
|
|
Step 10 |
|
|
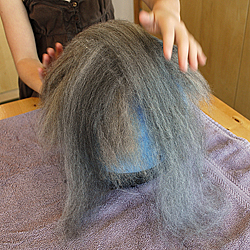
| If you are concerned about the thickness of the fibers, add another layer of fibers in the same manner as the first layer. |
|
 |
| |
|
|
Step 11 |
|
|
| Spray the fibers with soapy water to keep them in place. |
|
 |
| |
|
|
Step 12 |
|
|
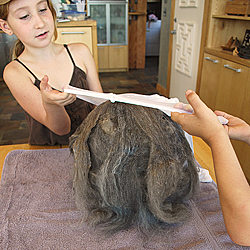
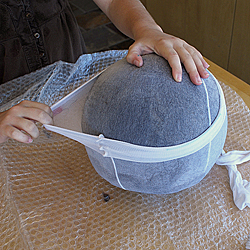
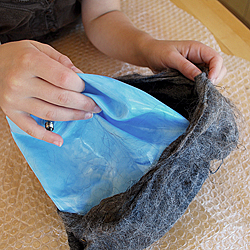
Have a friend help you place the first pair of pantyhose over the ball. |
|
 |
| |
|
|
Step 13 |
|
|
| Carefully lift the ball from the bowl. |
|
 |
| |
|
|
Step 14 |
|
|
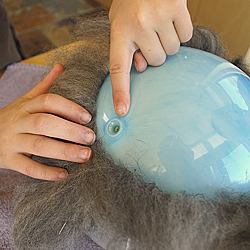
| Make sure the air hole is exposed. Tuck the exposed fibers into the pantyhose. |
|
 |
| |
|
|
Step 15 |
|
|
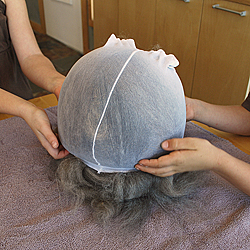
| Place the next pair of pantyhose over the ball. |
|
 |
| |
|
|
Step 16 |
|
|
Rotate the ball to its side and place the last pair of pantyhose over it. |
|
 |
| |
|
|
Step 17 |
|
|
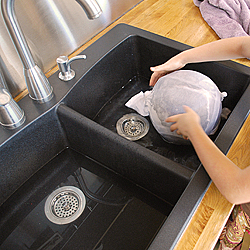
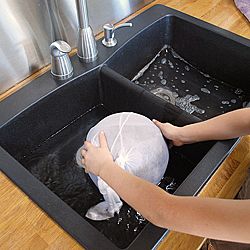
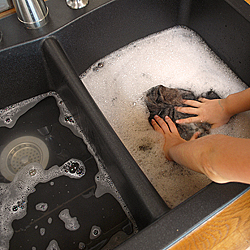
Dunk the ball into hot water, soaking all of the fibers. |
|
 |
| |
|
|
Step 18 |
|
|
| Dunk the ball into cold water. Repeat steps 17 & 18 three or four times, ending in the hot water. |
|
 |
| |
|
|
Step 19 |
|
|
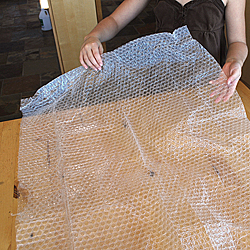
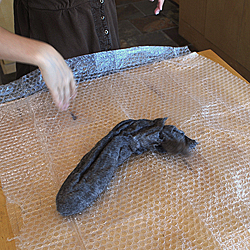
| Cover your work surface with bubble wrap. Place the bubble side up. |
|
 |
| |
|
|
Step 20 |
|
|
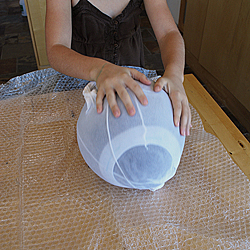
| Roll your ball back and forth over the bubbles several times. |
|
 |
| |
|
|
Step 21 |
|
|
| Bounce the ball on the work surface. Repeat steps 20 & 21 for about three minutes. |
|
 |
| |
|
|
Step 22 |
|
|
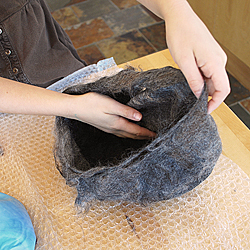
| Carefully remove the outer two pair of pantyhose. |
|
 |
| |
|
|
Step 23 |
|
|
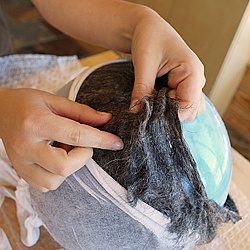
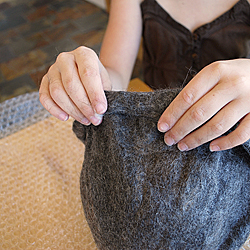
Test the fibers by gently pulling them with your fingers. You want them to be lightly bonded to each other.
*If they feel too loose, replace the pantyhose and repeat steps 20 and 21 for another minute or two. |
|
 |
| |
|
|
Step 24 |
|
|
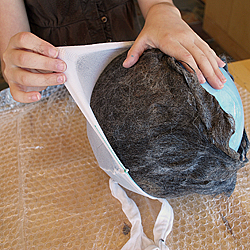
| When the fibers are bonded well enough, remove the last pair of pantyhose. |
|
 |
| |
|
|
Step 25 |
|
|
Deflate the ball. |
|
 |
| |
|
|
Step 26 |
|
|
| Remove the ball from the fibers. Take care not to stretch the fibers. |
|
 |
| |
|
|
Step 27 |
|
|
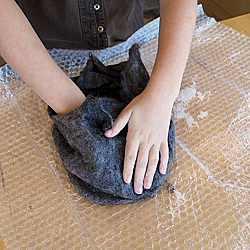
| Very gently, stretch only the opening of the “bag” shape, until it looks large enough to fit your head. |
|
 |
| |
|
|
Step 28 |
|
|
| Dunk the hat into hot water then cold water, gently kneading it with each dunk. Take care not to strech the fibers. |
|
 |
| |
|
|
Step 29 |
|
|
| Without stretching them, squeeze most of the water out of the fibers. |
|
 |
| |
|
|
Step 30 |
|
|
| Without stretching them, squeeze most of the water out of the fibers. |
|
 |
| |
|
|
Step 31 |
|
|
| Gently begin shaping your hat. |
|
 |
| |
|
|
Step 32 |
|
|
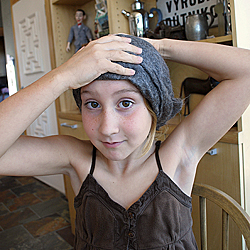
| Block the hat on foam or your own head. Look in a mirror to ensure the desired style. |
|
 |
| |
|
|
Step 33 |
|
|
| Use gentle pressure to shape and mold the hat as needed. |
|
 |
| |
|
|
Step 34 |
|
|
When the hat is in the desired shape, sit it in an undisturbed location until it dries.
*It helps to place it on a drying rack for better air circulation. |
|
 |
| |
|
|
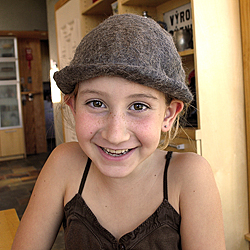
You're done! |
|
|
These hats can be decorated with buttons, beads, hand or machine stitching, or needle felting. They are fantastic hand made gifts for any occasion and are really fun to make.
We hope you enjoy this project as much as Olivia did! |
|
 |
| |
|
|