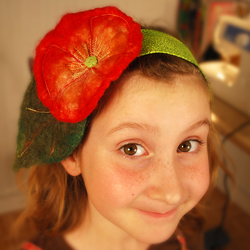
In this episode, you can learn to make a decorative felt flower using the water felting technique. The flower can be used as a decoration on a head band, hat, belt, purse or other accessory.

|
|
 |
| |
|
|
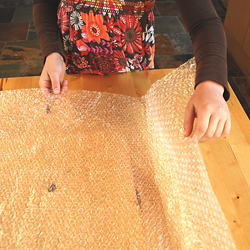
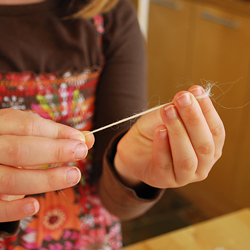
Step 1 |
|
|
Place a large sheet of bubble wrap on a table with the bubble side up. |
|
 |
| |
|
|
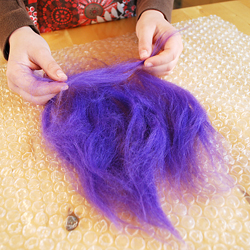
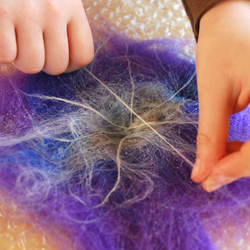
Step 2 |
|
|
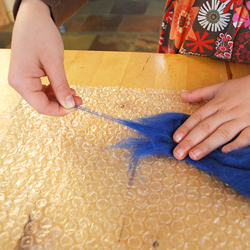
Place long sections of fibers on the bubble wrap.
*Your fiber blob should be about twice as large as you want your final flower to be. |
|
 |
| |
|
|
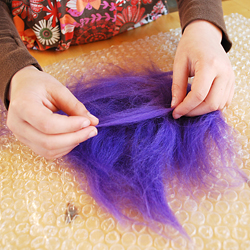
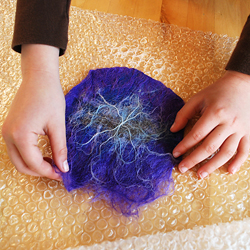
Step 3 |
|
|
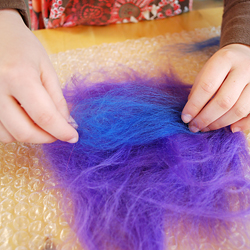
The first layer will go in one direction and the next layer will go in the other.
*Alternate directions as you go. |
|
 |
| |
|
|
NOTE |
|
|
| It is easier to pull small bits of fibers from the end of a section of wool, rather than starting with larger amounts. |
|
 |
| |
|
|
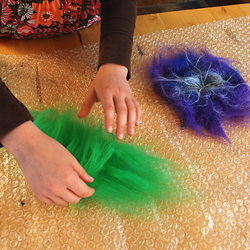
Step 4 |
|
|
Continue adding layers of fibers, changing the shade of your desired color as you go.
*Remember to alternate directions of the fiber with each layer. |
|
 |
| |
|
|
Step 5 |
|
|
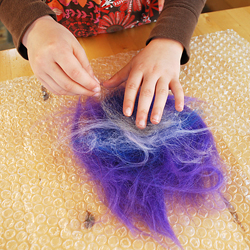
Make your pile of fibers about an inch thick.
*Work from light to dark or dark to light for a more natural looking flower. |
|
 |
| |
|
|
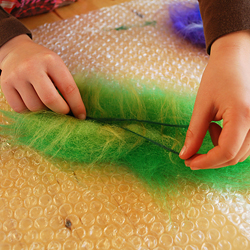
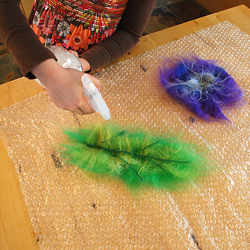
Step 6 |
|
|
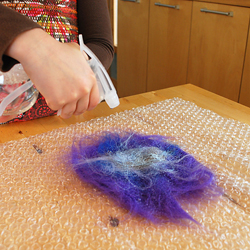
| Spray the fibers with soapy water to keep them in place. |
|
 |
| |
|
|
Step 7 |
|
|
| Roll thin strips of fiber between wet fingers. |
|
 |
| |
|
|
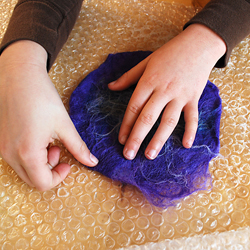
Step 8 |
|
|
| Criss-cross the lines over the center of your flower. |
|
 |
| |
|
|
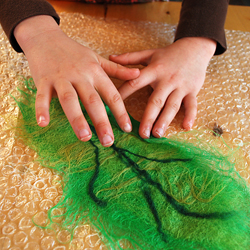
Step 9 |
|
|
| Leaf - lay sections of fibers in an oblong shape. *Your fiber blob should be about twice as large as you want your final leaf to be. |
|
 |
| |
|
|
Step 10 |
|
|
| Roll thin strips of fiber between wet fingers and place on damp leaf fibers as veins. |
|
 |
| |
|
|
Step 11 |
|
|
| Thoroughly wet both blobs of fiber with soapy water. |
|
 |
| |
|
|
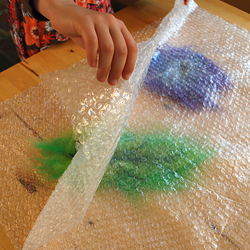
Step 12 |
|
|
Fold the bubble wrap over your pieces. The bubble side of the wrap should be touching the wool fibers. |
|
 |
| |
|
|
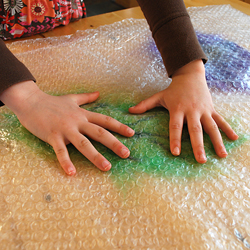
Step 13 |
|
|
| Squash the fibers flat. If they feel fluffy under the bubble wrap, spray them again with soapy water. |
|
 |
| |
|
|
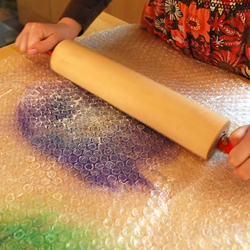
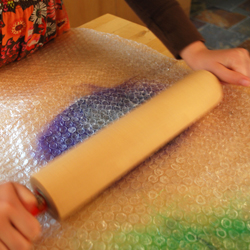
Step 14 |
|
|
| Roll both pieces with your rolling pin for about 30 seconds, until they are very flat and thin. |
|
 |
| |
|
|
Step 15 |
|
|
| Now shape your flower by folding the outer edges of the fiber toward the center of the flower. |
|
 |
| |
|
|
Step 16 |
|
|
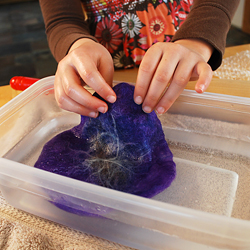
Use your fingers to rub the fibers flat toward the center.
*If the fibers won’t lay flat, or stay in place, spray them again. |
|
 |
| |
|
|
Step 17 |
|
|
Shape the leaf in the same way. |
|
 |
| |
|
|
Step 18 |
|
|
| Cover your pieces again and roll them with your rolling pin for about a minute each. |
|
 |
| |
|
|
Step 19 |
|
|
| Quickly dunk each piece into hot water to shock the fibers. The hotter the water is, the better. |
|
 |
| |
|
|
Step 20 |
|
|
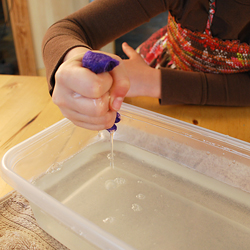
| Wad or fold the piece and squeeze it out. |
|
 |
| |
|
|
Step 21 |
|
|
| Now back to the bubble wrap and another minute of rolling. Repeat this 4-5 times. |
|
 |
| |
|
|
Step 22 |
|
|
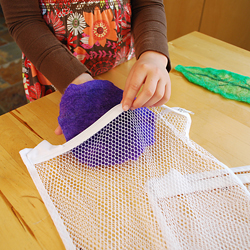
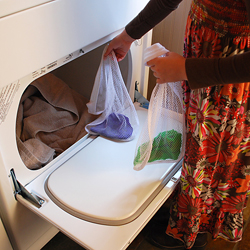
| Place each piece in their own lingerie bag. |
|
 |
| |
|
|
Step 23 |
|
|
| Machine dry the pieces on high heat with a couple of towels. Blue jeans will also work well. |
|
 |
| |
|
|
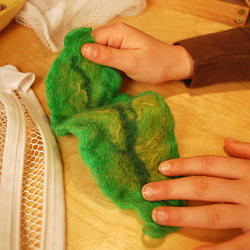
Step 24 |
|
|
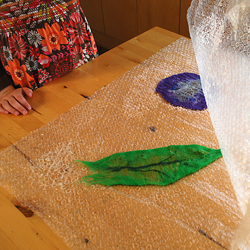
| After the pieces are dry, stretch and twist them until they flatten out. |
|
 |
| |
|
|
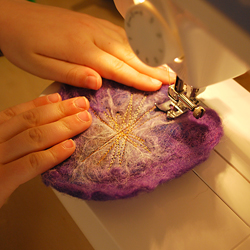
Step 25 |
|
|
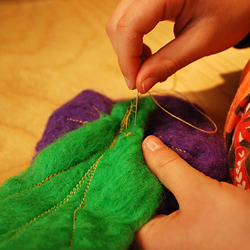
Stitch straight lines back and forth across the flower either by hand or machine.
*Follow the veins of the leaf, for added detail. |
|
 |
| |
|
|
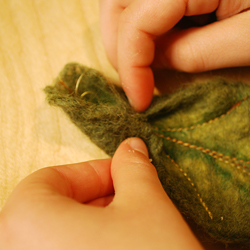
Step 26 |
|
|
| Fold the bottom edges of the leaf inward and stitch in place, for a more natural shape. |
|
 |
| |
|
|
Step 27 |
|
|
| Securely stitch the flower to the leaf. |
|
 |
| |
|
|
Step 28 |
|
|
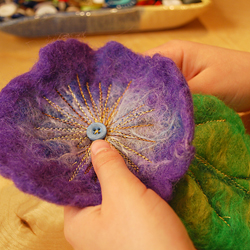
| Add a button, pretty bead, embroidery, or even leave the center of your flower plain. |
|
 |
| |
|
|
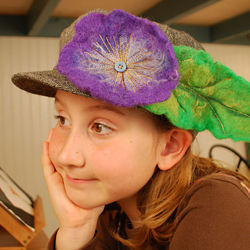
You're done! |
|
|
| No matter how you go about it, your flower will be as unique and as beautiful as you are! Make a lapel pin out of it, add it to a headband, hat, belt, purse, or... make a different color for each! |
|
 |
| |
|
|
| |
|
|