stretchy material (T-shirt material and felted wool sweaters work really well)
needle and thread
yarn
sticky tape
ruler
tape measure (optional)
scissors
The project in this episode is:
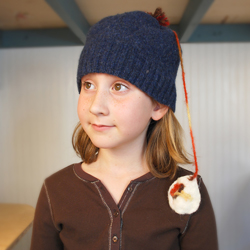
In this episode, you can learn to make a fun and zany hat.
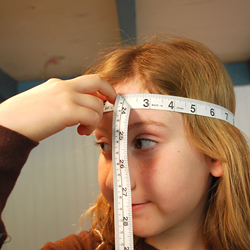
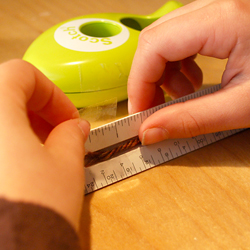
Step 1
Measure your head with a tape measure or a piece of yarn. Olivia’s head was 21.5 inches (32 cm) around.
Step 2
Fold the tape measure in half (to your measured number). With your scissors, cut a small slit in the fabric to use as a marker.
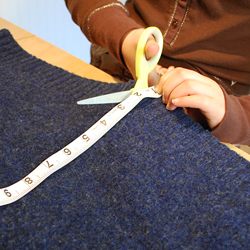
Step 3
Cut up 8 inches (20.5 cm) for a child’s hat and 10 inches (25.5 cm) for an adults hat.
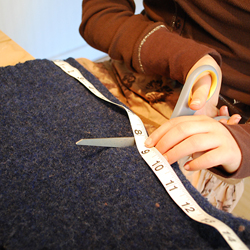
Step 4
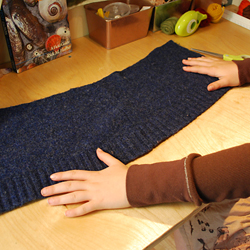
Now measure up 8 inches (20.5 cm) along your folded edge
Step 5
When you open the fabric, you will have a rectangle measuring 8 inches (20.5 cm) tall. The length will equal the circumference of your head.
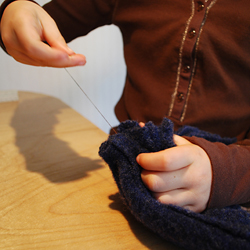
Step 6
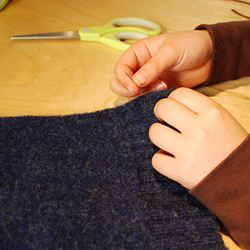
Fold your fabric inside out and stitch up the side. Use small, tight stitches.
Step 7
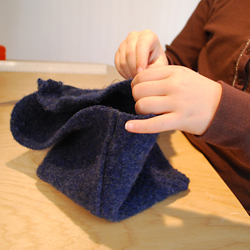
Sew a row of very loose stitches around the top edge of fabric.
Step 8
Pull both ends of the thread to gather top of hat.
Step 9
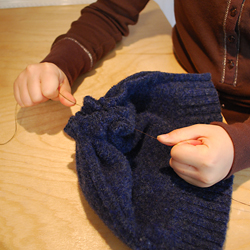
Stitch several times across the top gather to hold it tightly together. Turn the hat right side out.
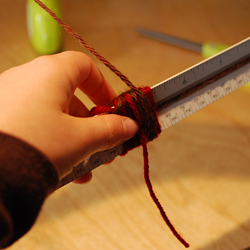
Step 10
Tape a 10 inch (25.5 cm) section of yarn to a ruler.
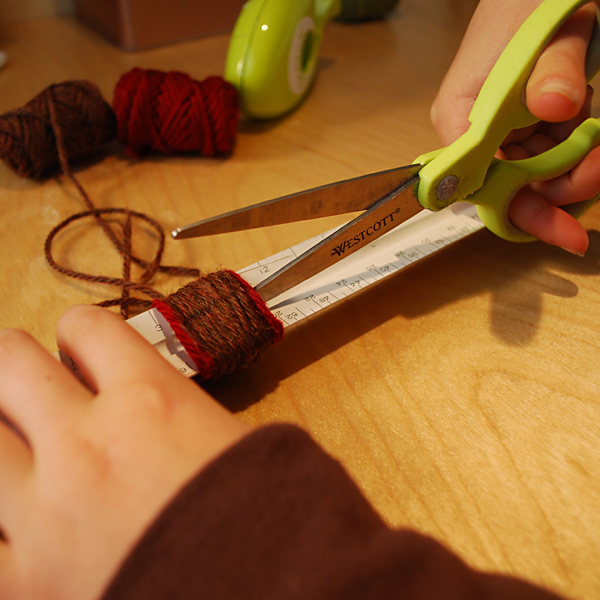
Step 11
Wrap a good amount of yarn around the ruler and taped section of yarn.
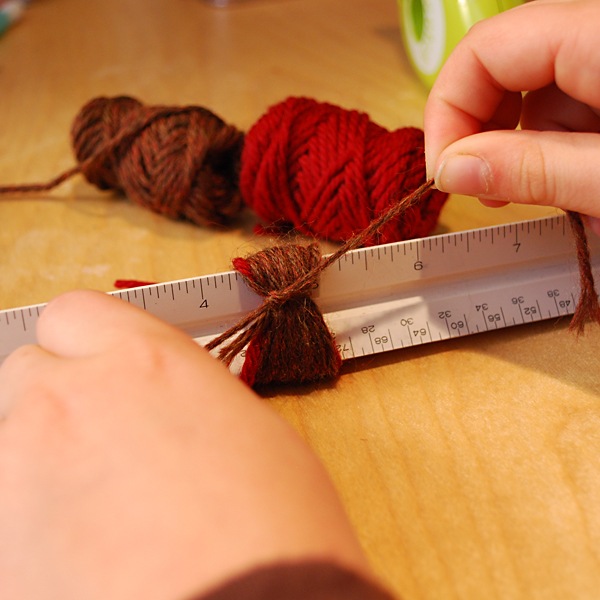
Step 12
Remove the tape and tie a tight knot around the wrapped yarn.
Step 13
Cut the wrapped yarn on the OPPOSITE side of the ruler than the knot.
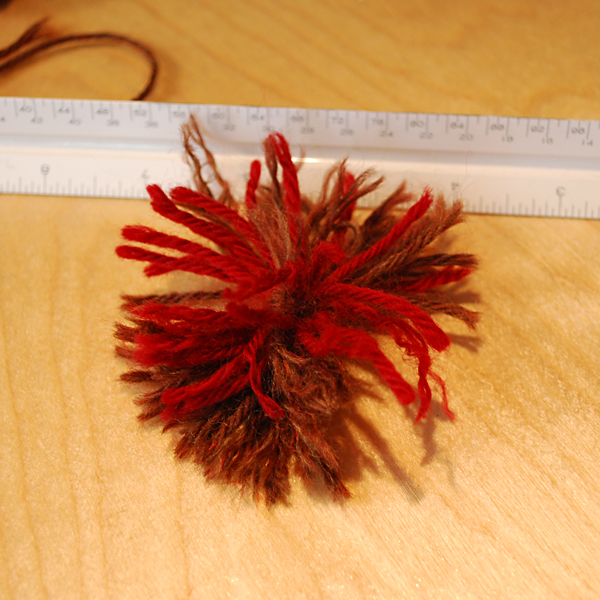
Step 14
If you’d like a thicker pom-pom, make several of these and stitch their centers together.
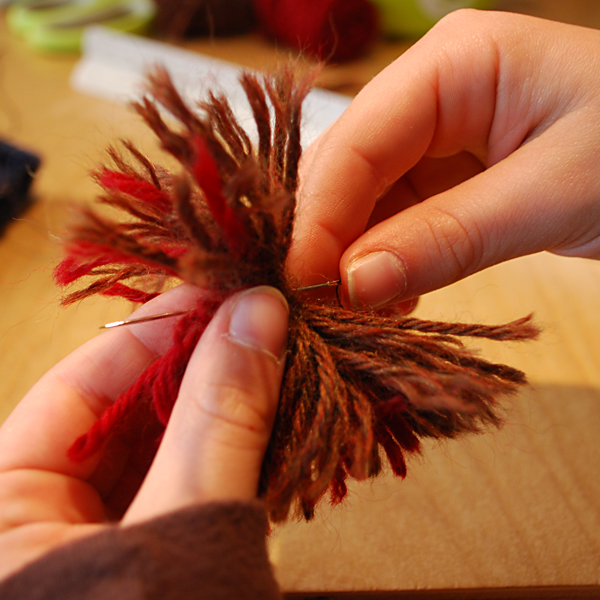
Step 15
When sewing pom-poms be sure your needle passes through the knot.
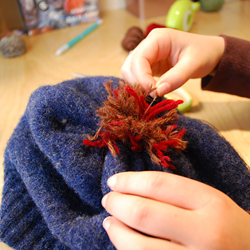
Step 16
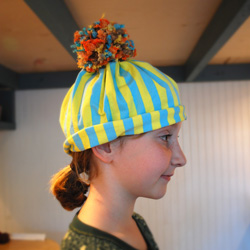
Sew your pom-pom to the top of your hat.
You're Done!
When your hat is complete, put it on and start another one! Try some zany fabric and yarn for the pom-pom. Hang something fun from the top of your hat or decorate it with buttons, beads or... well, anything you like.