1/3 yard (30 square centimeters) of fabric (for dress)
1/4 yard (23 square centimeters) of fabric (for face and hands)
iron-on interfacing
stuffing
acrylic paints or fabric pens
paintbrushes
Optional Materials
yarn (for hair)
ribbon (for neck)
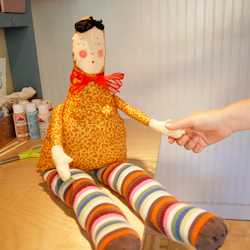
The project in this episode is:
In this episode, you can learn to make a Babka (Slavik Granny) Doll. You can make this doll with or without a sewing machine, though some slight alterations may be necessary if making it by hand.
NOTE: Steps 24-34 are optional. If you do not want to add boobs or hair to your doll, skip these steps.
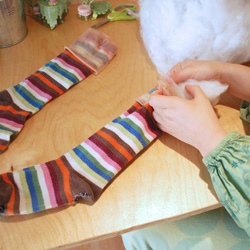
NOTE: It's easier to work with mid-calf length socks. Knee-high socks are used in this example.
NOTE: You can print the pattern for this doll by viewing the PDF version of these instructions.
Step 1
Stuff socks.
*if your socks have a lot of holes in them, darn them (stitch them closed) or line them with old pantyhose or kneehighs.
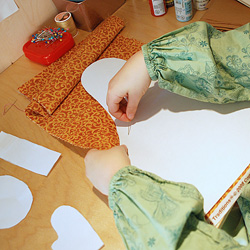
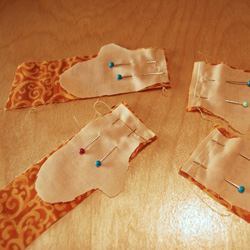
Step 2
Pin pattern to fabric.
Step 3
Cut out fabric pieces.
Step 4
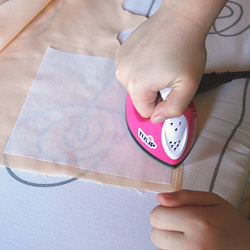
Apply iron-on adhesive to back of face fabric.
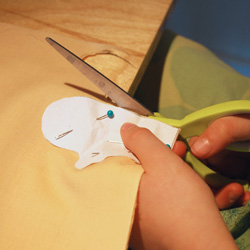
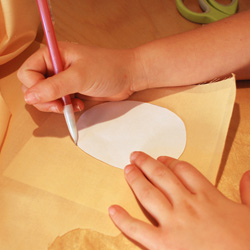
Step 5
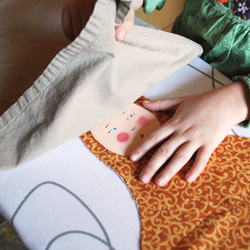
Trace face pattern onto face fabric.
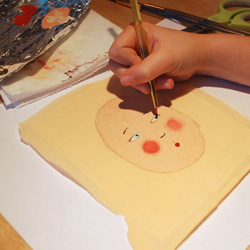
Step 6
Paint or draw face onto fabric. Let dry and cut out.
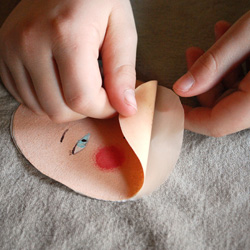
Step 7
Peel paper from back of iron-on interfacing.
Step 8
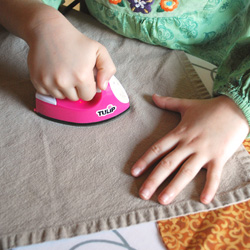
Cover painted face with cloth napkin or tea towel.
Step 9
Follow directions on package to apply face to dress fabric.
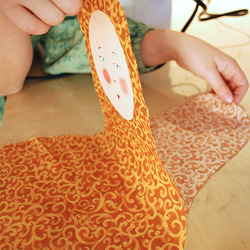
Step 10
Make sure you’ve only got the front piece of dress fabric.
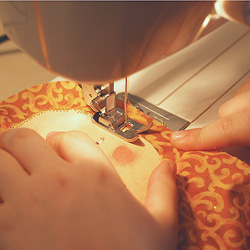
Step 11
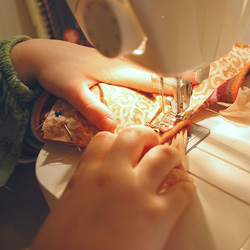
Zig-zag stitch over edges of face.
Step 12
Pin and sew hand pieces to right sides of arm pieces.
*make sure you’ve got two sets of thumbs pointing each direction.
Step 13
Pin and sew right sides of hand/arms together.
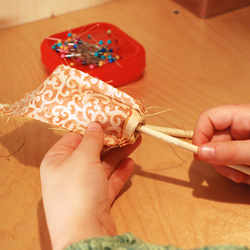
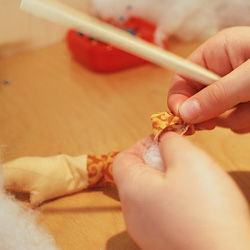
Step 14
Use chopstick or pencil to turn the sewn arm.
Step 15
Use chopstick or pencil to stuff the sewn arm.
Step 16
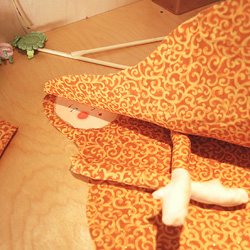
Place the stuffed arms between the front and back of dress.
*Both thumbs should point up.
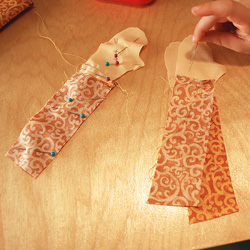
Step 17
Sew around outer edge of dress, leave the bottom open.
*Leave a 4-5 inch gap on one side of the dress.
Step 18
Open dress to see which side the face is sewn onto.
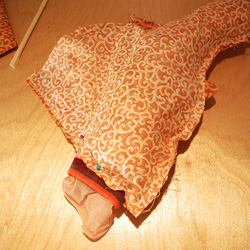
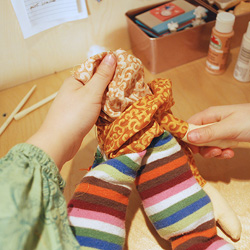
Step 19
Insert the stuffed sock with the toe pointing toward the face. Pin one leg in place.
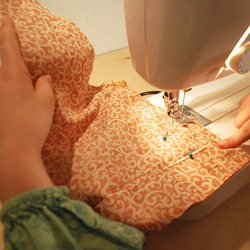
Step 20
Sew first leg into place then pin the second leg and sew it into place.
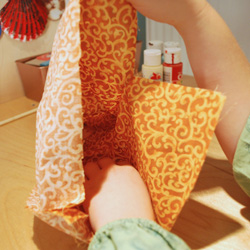
Step 21
Turn the doll through the gap on side.
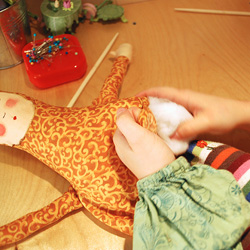
Step 22
Stuff the doll.
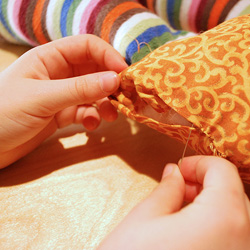
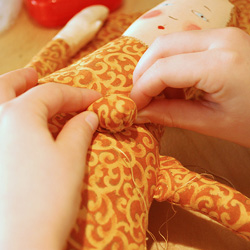
Step 23
Hand-stitch the gap closed with very small stitches.
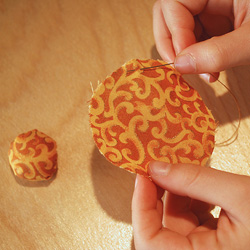
Step 24
To make a boob, handstitch loosely around the outer edge of the boob fabric.
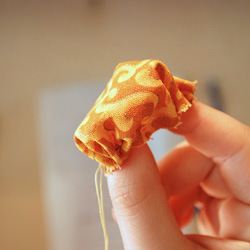
Step 25
Pull string slightly to create the “bottle-cap” shape.
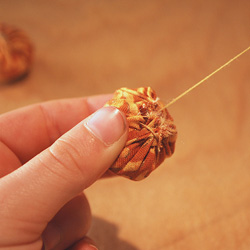
Step 26
Fill the bottle-cap with stuffing and pull string to close the opening.
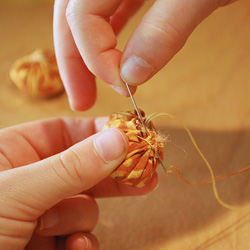
Step 27
Zig-zag stitch across opening to close off the boob.
Step 28
Mark the location of both boobs on the dress with a pencil and stitch the boobs in place.
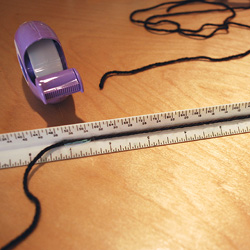
Step 29
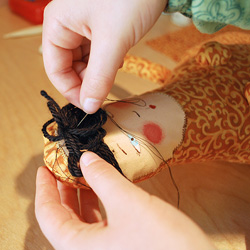
To make the hair, tape a short section of yarn to a ruler.
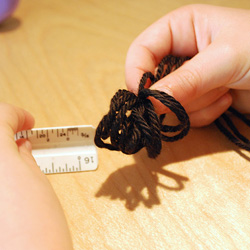
Step 30
Wrap another section of yarn around the ruler, between the sections of tape.
Step 31
Remove the tape and tie a knot around the wrapped yarn with the short section of yarn.
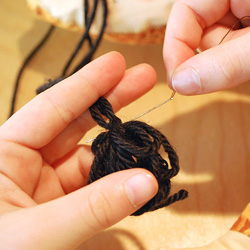
Step 32
Gently remove the yarn from the ruler.
Step 33
Push your needle and thread through the knot.
Step 34
Stitch the hair to the forehead of your doll.
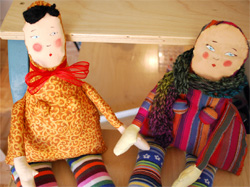
Now your doll is complete!
If you decide to make her a friend, consider altering the pattern slightly by making the dress a little wider and the face a little rounder.