In this episode, Olivia makes wool mittens out of an old sweater. You can make a pair of mittens with or without a sewing machine, though using a sewing machine will make it much easier.
To make a pair of wool mittens, you'll need a 100% wool sweater and thread to match it. You can also add a design using the needle felting technique. To do so, you'll need a felting needle, wool fibers and a felting matt or pillow. A marker is useful for marking the fabric.
Note: Steps 14-21 are optional. If you do not want to felt a design onto your mittens, skip these steps.

|
|
 |
| |
|
|
Step 1 |
|
|
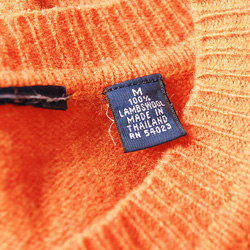
| Make sure your sweater is 100% wool. |
|
 |
| |
|
|
Step 2 |
|
|
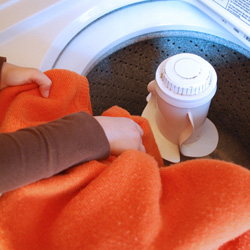
| Place sweater in washing machine. |
|
 |
| |
|
|
Step 3 |
|
|
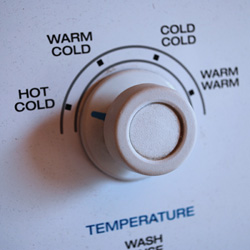
| Wash on Hot/Cold cycle. |
|
 |
| |
|
|
Step 4 |
|
|
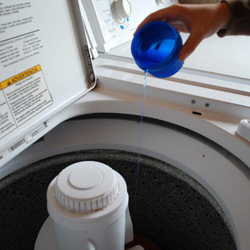
| Add a small amount of detergent. |
|
 |
| |
|
|
Step 5 |
|
|
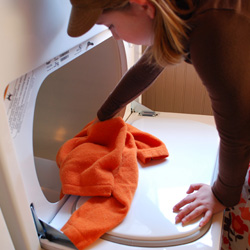
| After the sweater is washed, place it in the dryer. |
|
 |
| |
|
|
Step 6 |
|
|
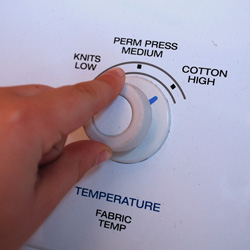
| Dry on high heat. |
|
 |
| |
|
|
Step 7 |
|
|
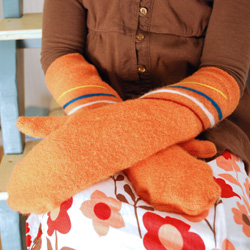
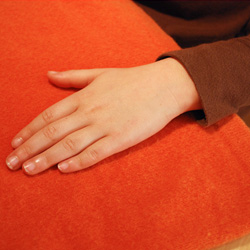
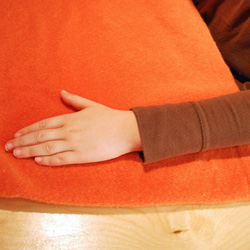
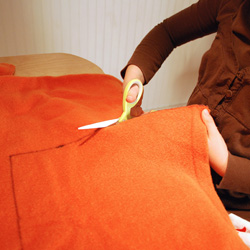
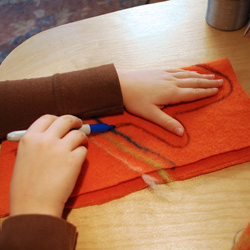
Decide how long you want your mittens to be. Place your hand on the sweater with the hem of the sweater where you want your mittens to end.
The photo on the right shows short mittens.
The photo below shows long mittens.
|
|
 |
| |
|
|
| This photo shows long mittens |
|
 |
| |
|
|
Step 8 |
|
|
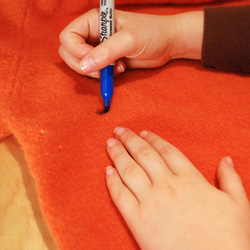
| Mark the sweater about half an inch (1.25 cm) beyond your fingers. |
|
 |
| |
|
|
Step 09 |
|
|
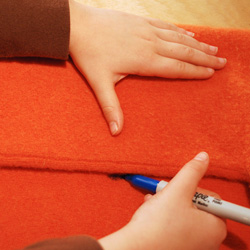
| Fold the fabric over, allowing about an inch (2.5 cm) of the top layer to extend past your open thumb. Mark the fabric. |
|
 |
| |
|
|
Step 10 |
|
|
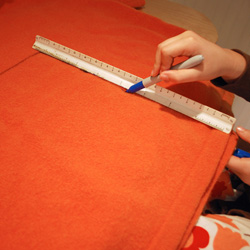
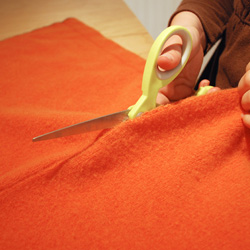
| With a ruler, connect the marks you’ve made. |
|
 |
| |
|
|
Step 11 |
|
|
| Cut the square out and open it up to form a rectangular shape. |
|
 |
| |
|
|
Step 12 |
|
|
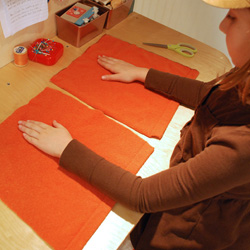
| Cut the rectangle in half (along the seam) to form two squares. |
|
 |
| |
|
|
Step 13 |
|
|
| Each square will make one mitten. |
|
 |
| |
|
|
Step 14 |
|
|
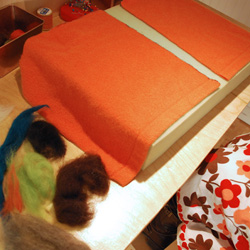
| Lay the squares of fabric on your felting mat with the sweater hem closest to you. |
|
 |
Step 15 |
|
|
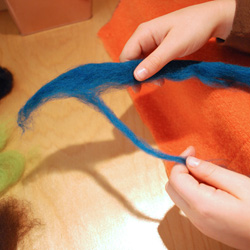
| To make simple lines on your mitten material, pull long strips of fiber from your desired color. |
|
 |
| |
|
|
Step 16 |
|
|
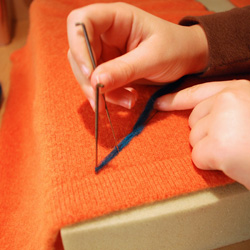
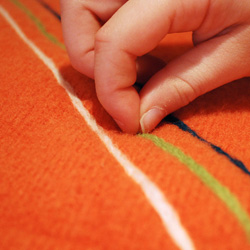
| Pin the end your line in place with one needle and begin felting with the other. |
|
 |
| |
|
|
Step 17 |
|
|
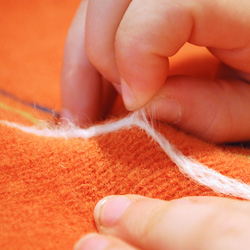
| Pull the material from your mat often to release the fibers that have pushed through the material. |
|
 |
| |
|
|
Step 18 |
|
|
| Test your felting by tugging on your line. If it comes loose, continue felting. |
|
 |
| |
|
|
Step 19 |
|
|
| When your lines are tightly bonded to your material, you are done felting. |
|
 |
| |
|
|
Step 20 |
|
|
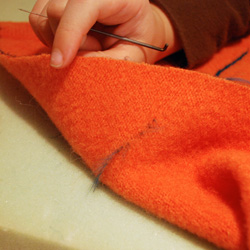
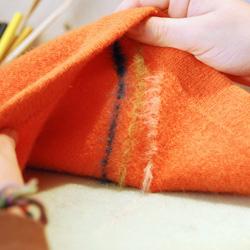
| Look at the back side of your material to see the fibers that you have pushed through with your felting needle. |
|
 |
| |
|
|
Step 21 |
|
|
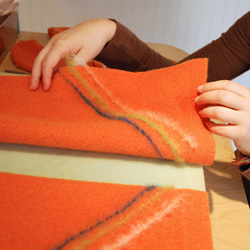
| Fold the squares in half, with the back side of your felting work facing up. |
|
 |
| |
|
|
Step 22 |
|
|
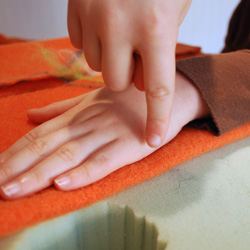
| Place your pinky finger and the outside edge of your arm on the folded edge of the material. |
|
 |
| |
|
|
Step 23 |
|
|
| Starting at your pinky finger, trace around your hand. |
|
 |
| |
|
|
Step 24 |
|
|
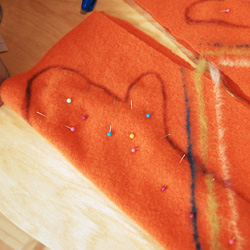
| Now place several pins in your mittens to hold them in place while you sew them. |
|
 |
| |
|
|
Step 25 |
|
|
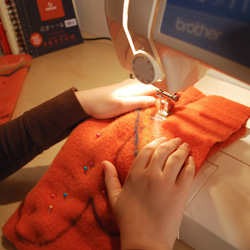
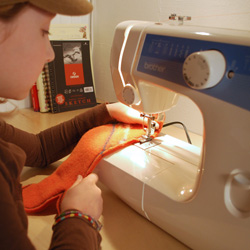
Sew a straight stitch along the lines that you drew.
|
|
 |
| |
|
|
Step 26 |
|
|
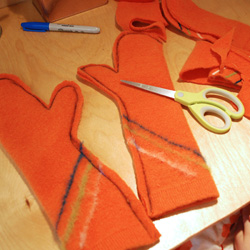
| When the mittens are sewn, cut them out, leaving about a quarter inch (1 cm) of fabric on outer edge of stitches. |
|
 |
| |
|
|
Step 27 |
|
|
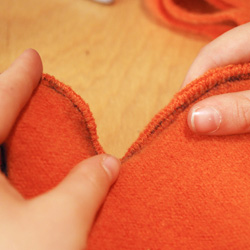
| Zig-zag stich over the cut edge of the material. |
|
 |
| |
|
|
Step 28 |
|
|
| Try to keep the zig-zag stitch from overlapping your straight stitch. |
|
 |
| |
|
|
Step 29 |
|
|
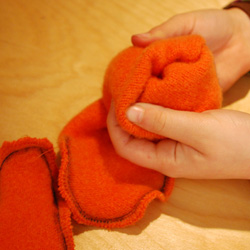
| Turn your mittens. |
|
 |
| |
|
|
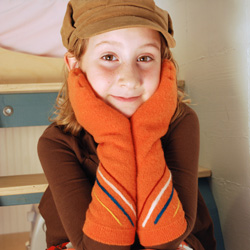
| Now your mittens are complete. You can make a pair to match every outfit! |
|
 |
| |
|
|
| |
|
|